
Photo courtesy of Panasonic Eco Systems
The ability to store electricity in a home battery and use it later has so many benefits. From avoiding expensive electricity rates during peak times, to securing a source of back-up power during outages, home batteries are a great investment in your energy future.
If you're planning to install a home battery, there are a few things you can do to ensure a smoother process. This guide will walk you through everything you need to know to get ready for installation —from assessing your energy needs to choosing the right home battery system.
How to prepare for a home battery installation
Step 1: Understand your energy needs
An authorized installer can design a home battery system to meet the specific energy needs of your household. This means before installation, it's a good idea to assess your home energy usage. Examine your historic and current utility bills to understand how much energy your household uses and when. Also consider which appliances you run most regularly. Share any future plans with your installer, such as whether you plan to add solar panels or buy an electric car.
Step 2: Assess solar compatibility
Most home batteries are compatible with existing solar panel systems. The amount of installation work required depends on whether or not your panels are designed with the intention of adding a battery in the future. If they were, adding a battery is straightforward. If not, installation can be more challenging. Ultimately, certain batteries will be better suited and easier to install than others. An installer will work with you to find the best solution within your budget.

Step 3: Choose the right home battery
Choosing the right battery for your home depends largely on your budget, your household energy needs and your reasons for installing a battery system.
One of the first decisions you will need to make is whether to opt for an AC- or DC-coupled battery. AC batteries tend to be cheaper and easier to retrofit to existing solar panels than DC batteries, but they are also less efficient. If you use your battery regularly, these energy losses can stack-up.
The second decision is based on your energy needs... For example, if you're on a time-of-use (TOU) utility rate plan, where you pay more for electricity during peak hours, a battery with a built-in TOU mode is a great option. This will allow you to program your battery to turn on and provide power to your home when electricity costs rise.
Battery specifications vary, such as how much power it can store, and how quickly it can dispense and store power. If you want to run as many appliances as possible, choose a battery with a higher power rating. If you want to run your entire home for longer periods of time, such as during an outage, opt for a battery with a higher usable capacity.
The average power output of home batteries is about 5-kilowatts (kW) and the usable capacity between 10 to 16 kilowatt-hours (kWh). The Panasonic EVERVOLT has a power output of 7.5 kW and a usable capacity of up to 18 kWh.
Step 4: Assess installation requirements
Set aside a dedicated space in your home for installation since home batteries are large. A garage or utility room can provide the ideal space. Make sure the area is free from clutter, so that the installer can access both the space and your electricity supply. The compact and sleek design of the Panasonic EVERVOLT means it can be installed either on the floor or in the wall, indoors or outdoors.
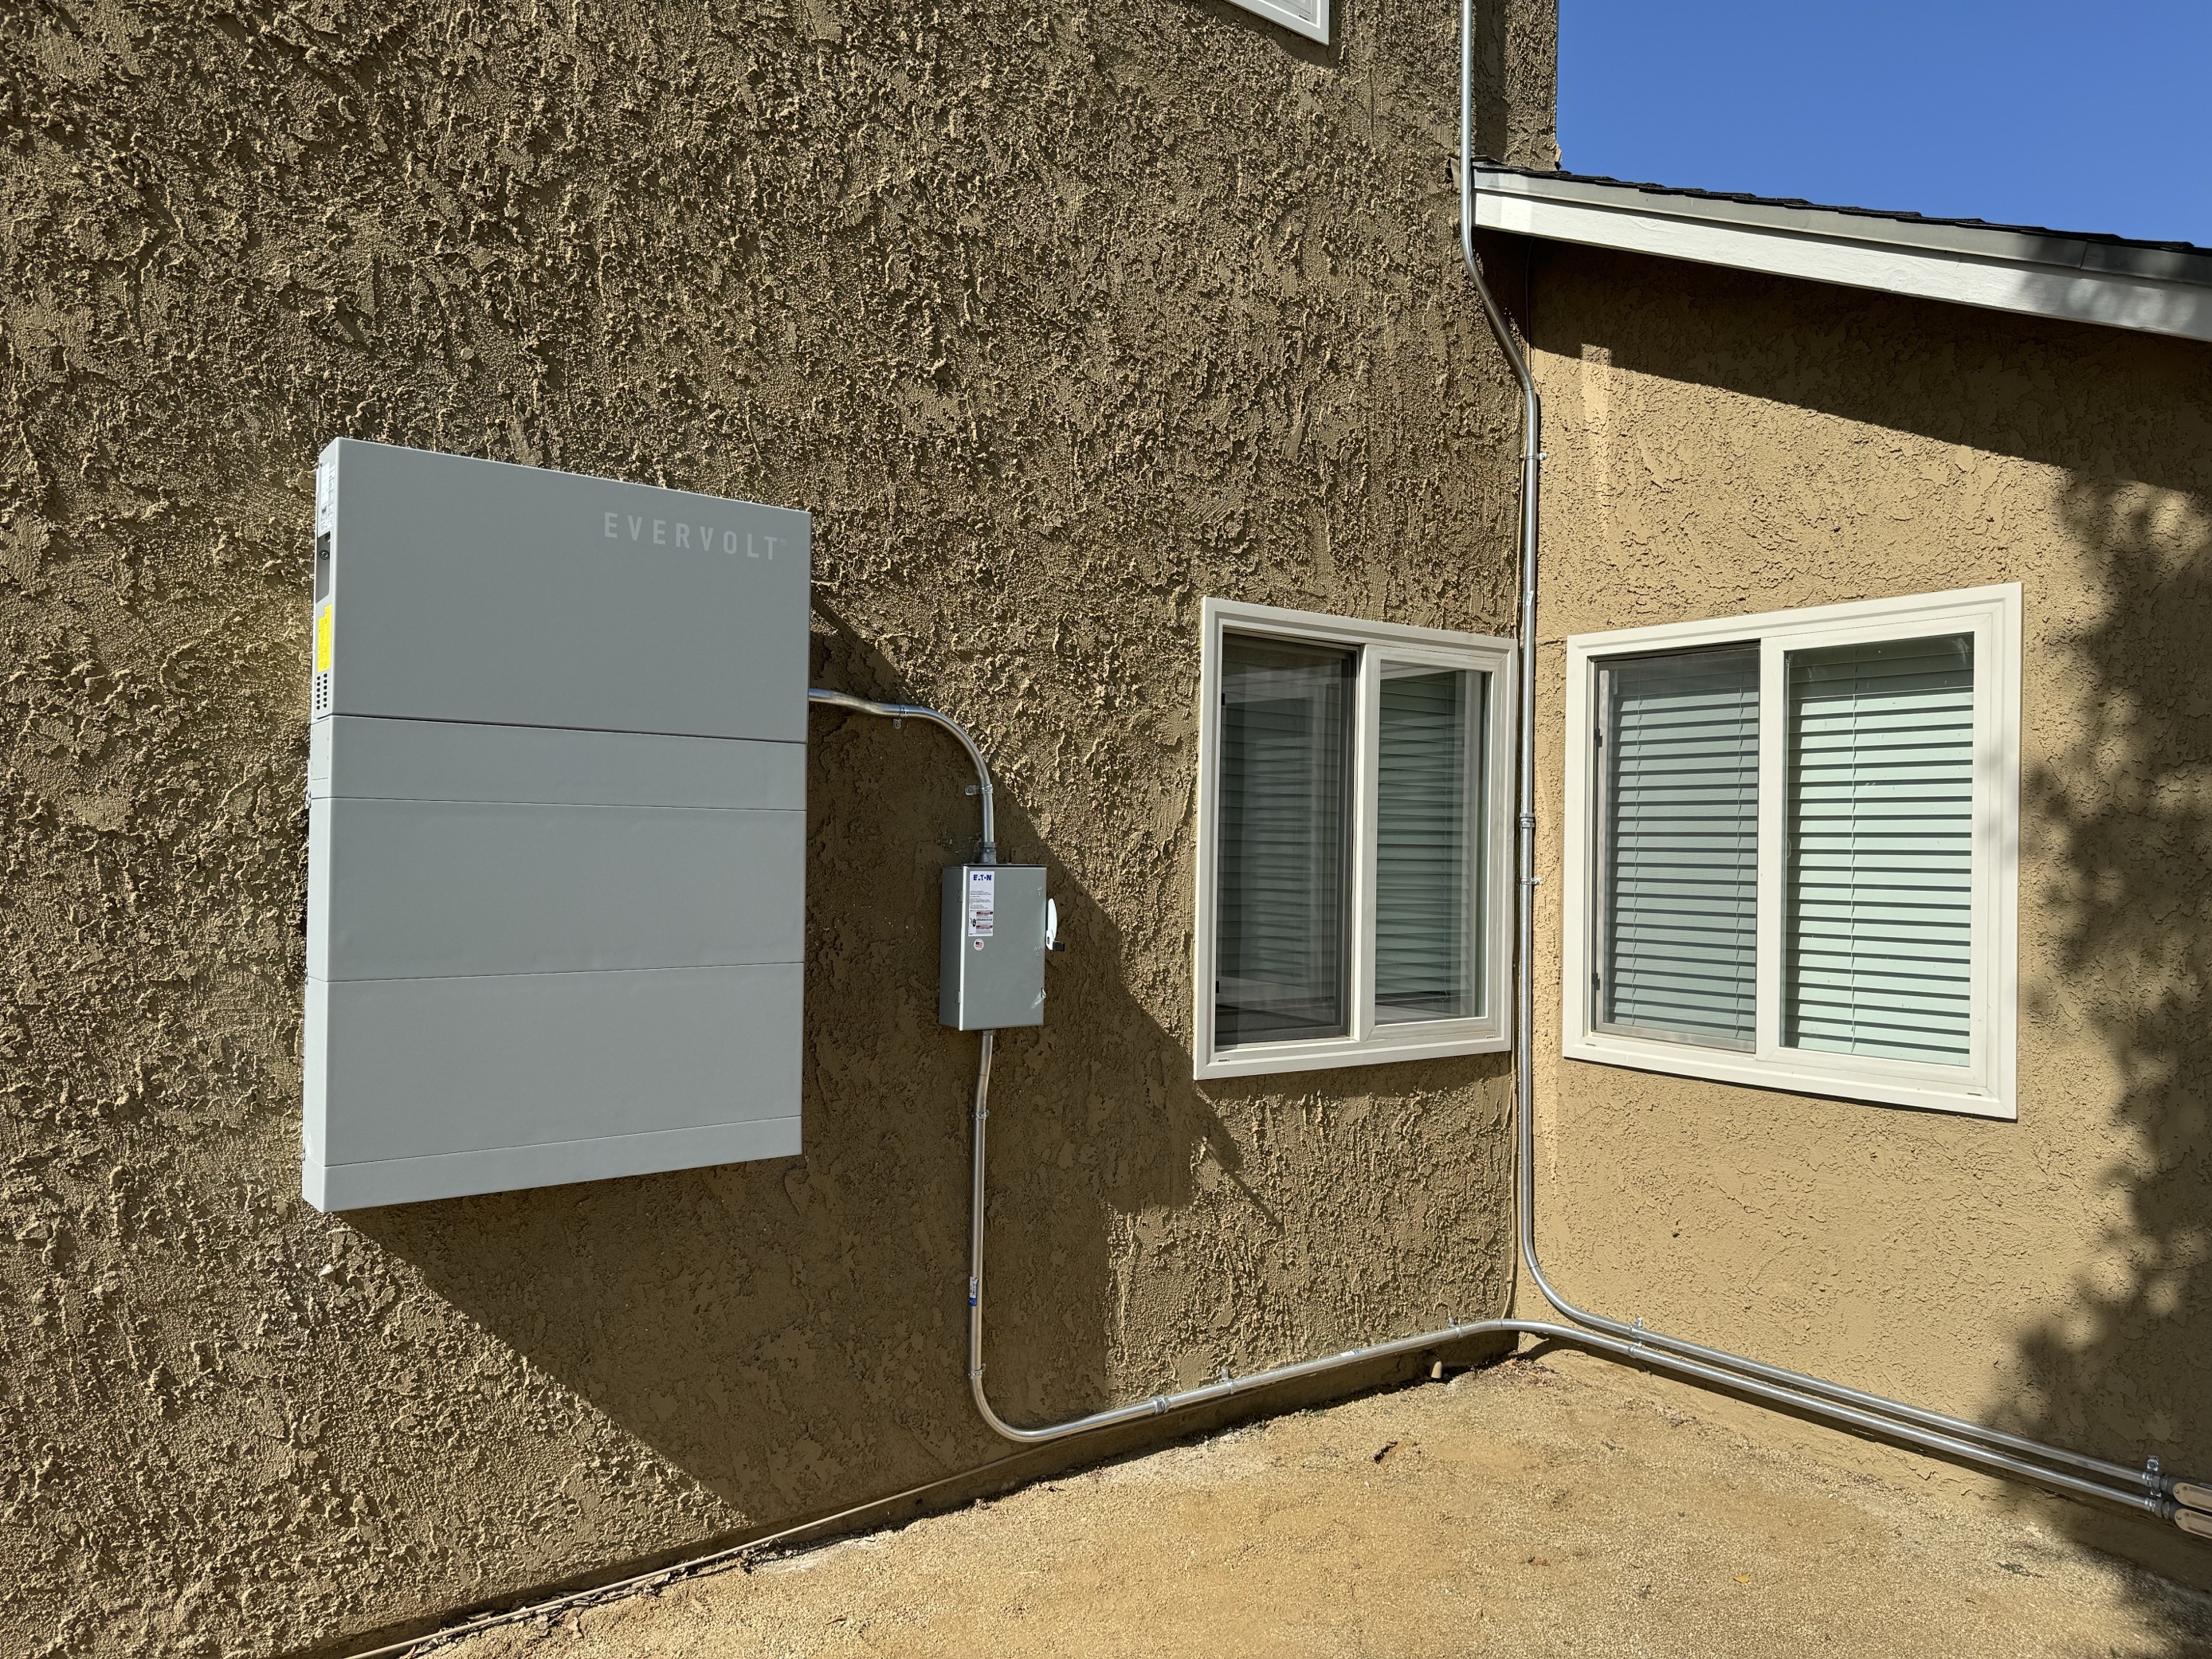
Photo courtesy of Plug It In Solar and Panasonic Eco Systems
Step 5: Sort out permits and regulations
Permit requirements vary depending on where you live but generally you will need a building, electrical and fire safety permit. Your installer should handle local permits for you and will likely include this in their price. Sometimes, permits can be completed online and issued in as little as an hour. But in some areas, it can take two or three months, so be sure to discuss timelines with your installer ahead of installation. Once you have your permits, it only takes 1 to 2 days to install a battery.
Step 6: Set up system monitoring
Your installer should support you in setting up remote monitoring for your system, which is usually via an app. You can use your app to turn your battery on and off, track data — such as how much energy is stored in your battery — and change battery settings. The Panasonic EVERVOLT comes with an all-in-one home energy management device that allows you to monitor and control your battery, home loads, grid supply and solar panels.
Choosing an installer for your battery system can feel daunting. With so many options, where do you start? Panasonic's network of experienced installers have been vetted to ensure they meet the highest standards. When you're ready to install your home battery, connect with a local Panasonic Authorized Installer and get your questions answered with a free quote.


